M2Slim Install Guide
Step 1: Shell Disassembly
Overview
These steps cover removing the plastic shell from the PS2 Slim's internals.
This is relatively straight forward but care should be taken to avoid scratching the console so make sure your work surface is clean.
Tools
Required:
Philips #1 screwdriver.
Reccomended:
Pry tool
Tweezers
Step 1.1 Remove the screw covers
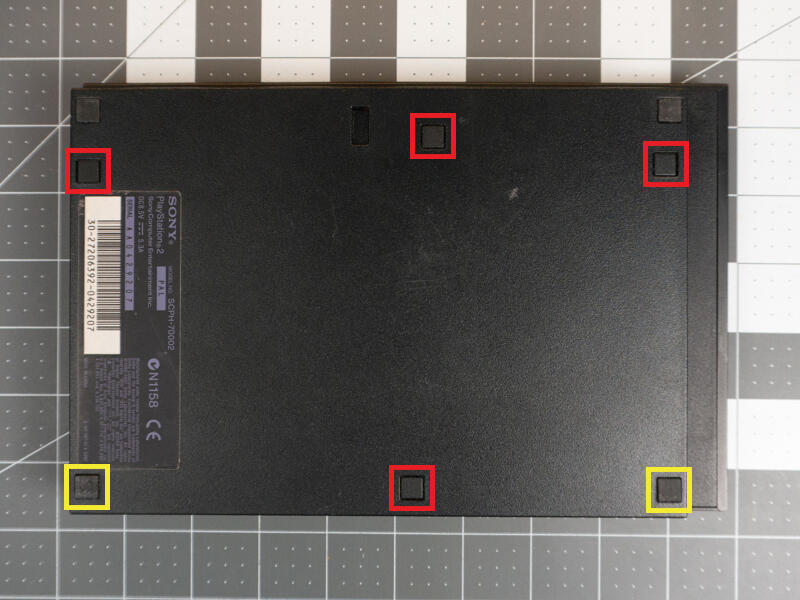
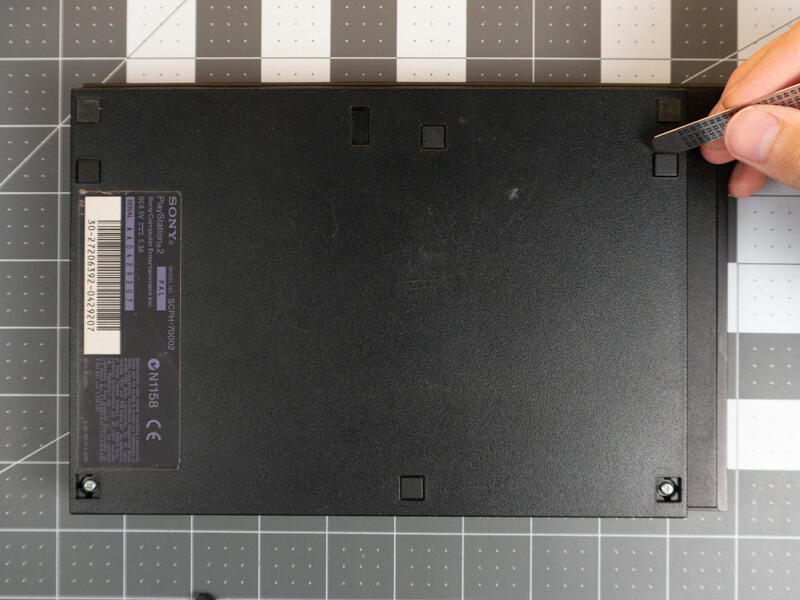
Cut through the warranty tamper sticker if it is present.
Lift the 4 plastic screw covers with a small flat pry tool
Take care to avoid scratches or damaging the fragile clips underneath.
Remove the 2 rubber feet
Step 1.2 Remove the screws
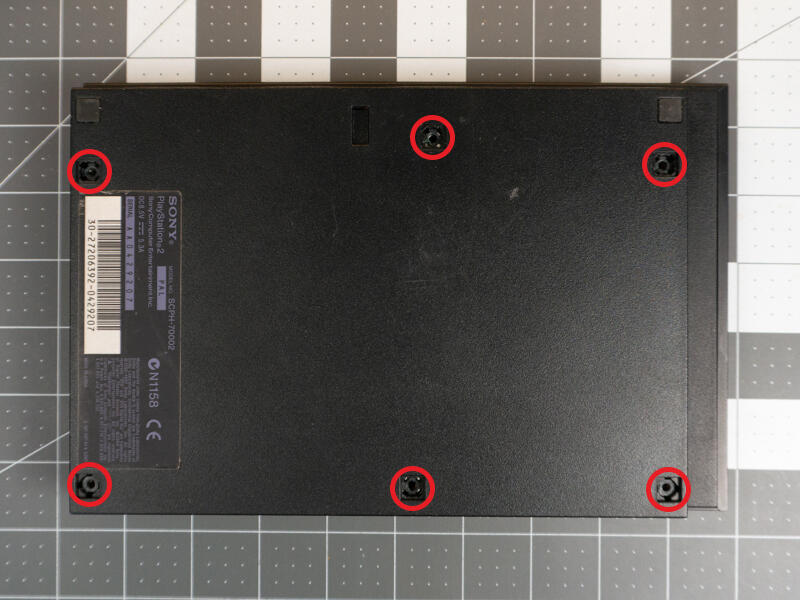
Use a philips screwdriver to remove the 6 case screws
Step 1.3 Remove top shell
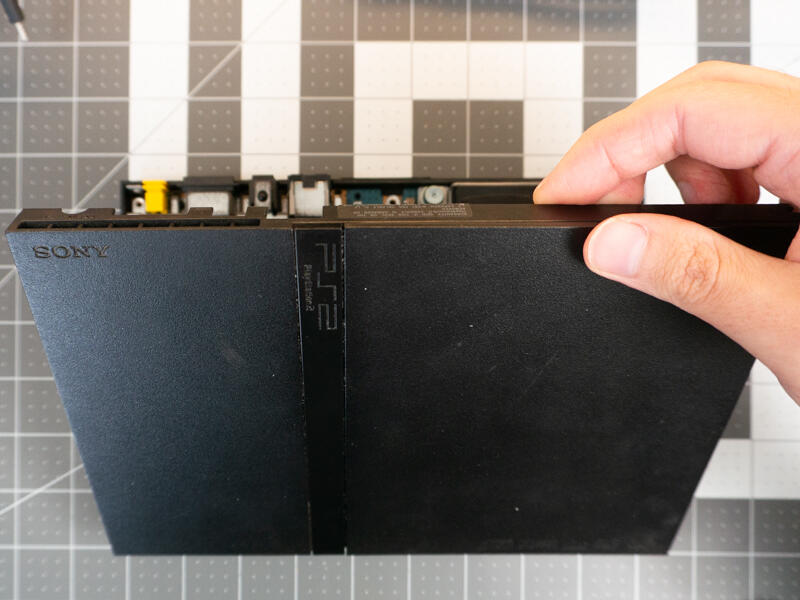
Flip over and lift top shell from rear ports.
Step 1.4 Remove bottom shell screw
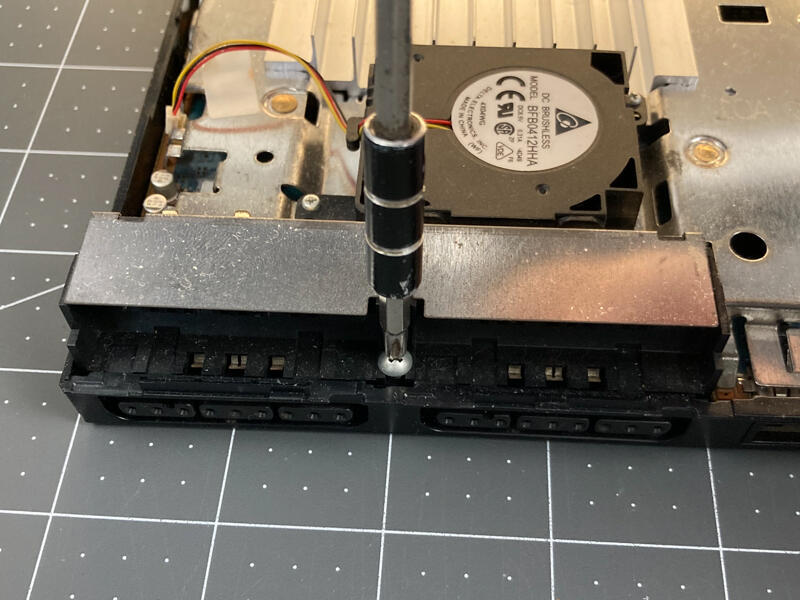
Remove screw from controller and memory card connector.
Step 1.5 Disconnect cables from the mainboard.
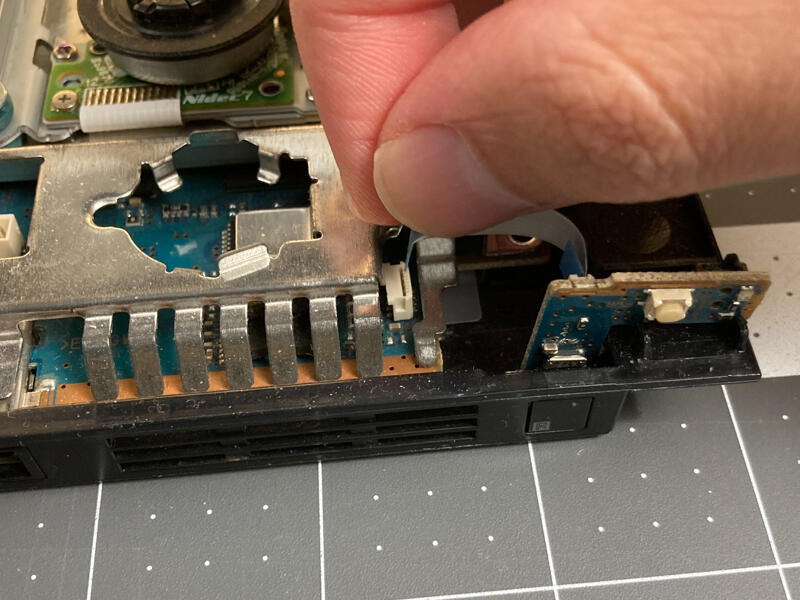
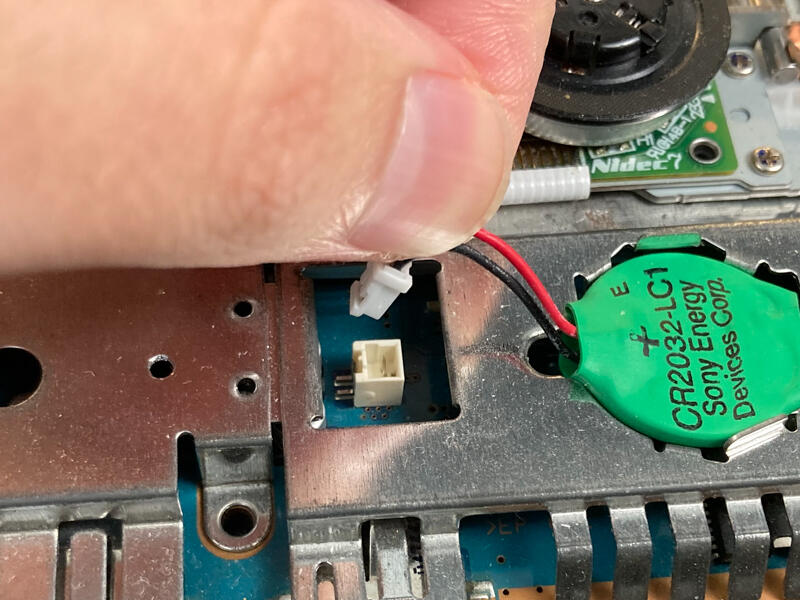
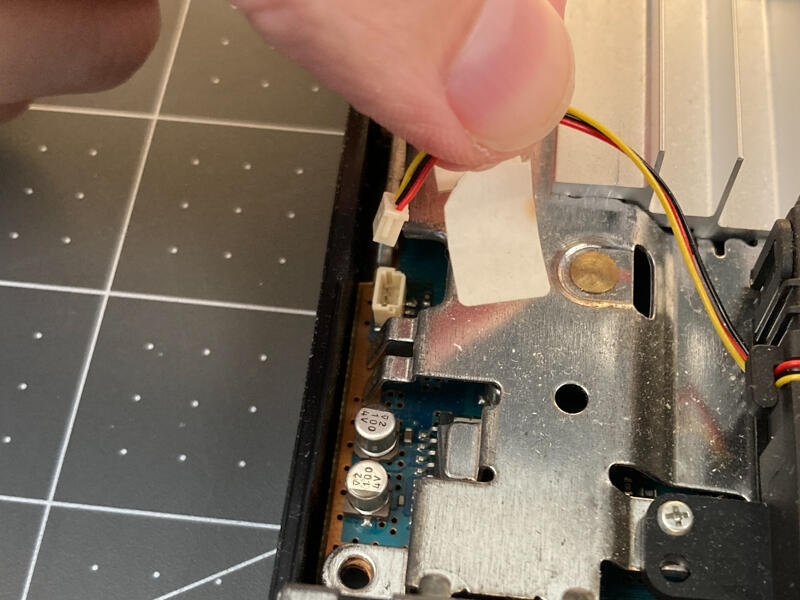
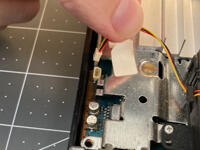
Pull out the cable connecting the IR/power button board.
Disconnect the CMOS battery and remove it.
Disconnect the fan cable.
Step 1.6 Remove internals from bottom shell
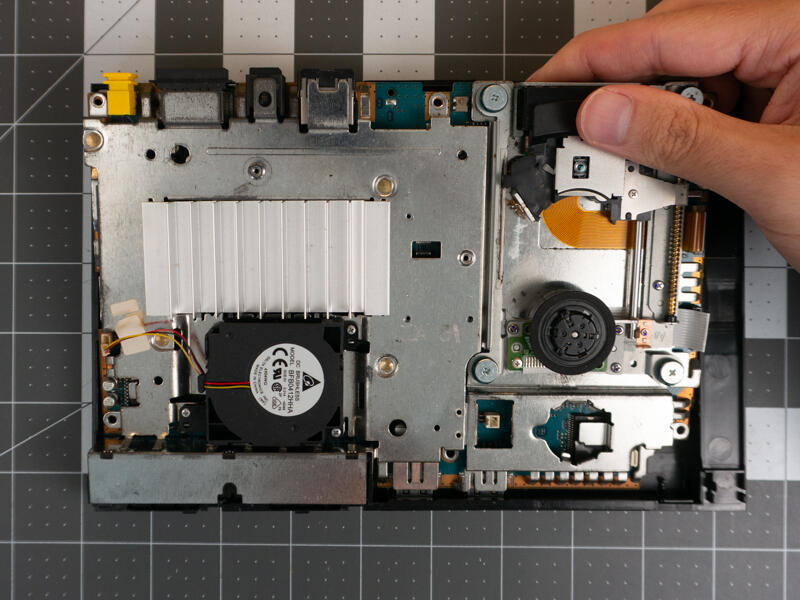
Lift internals up from rear ports first to remove it from bottom shell.
If stuck try using the rear ports for leverage or very gently try to pry the board from the case using a flat head screw driver from the rear.